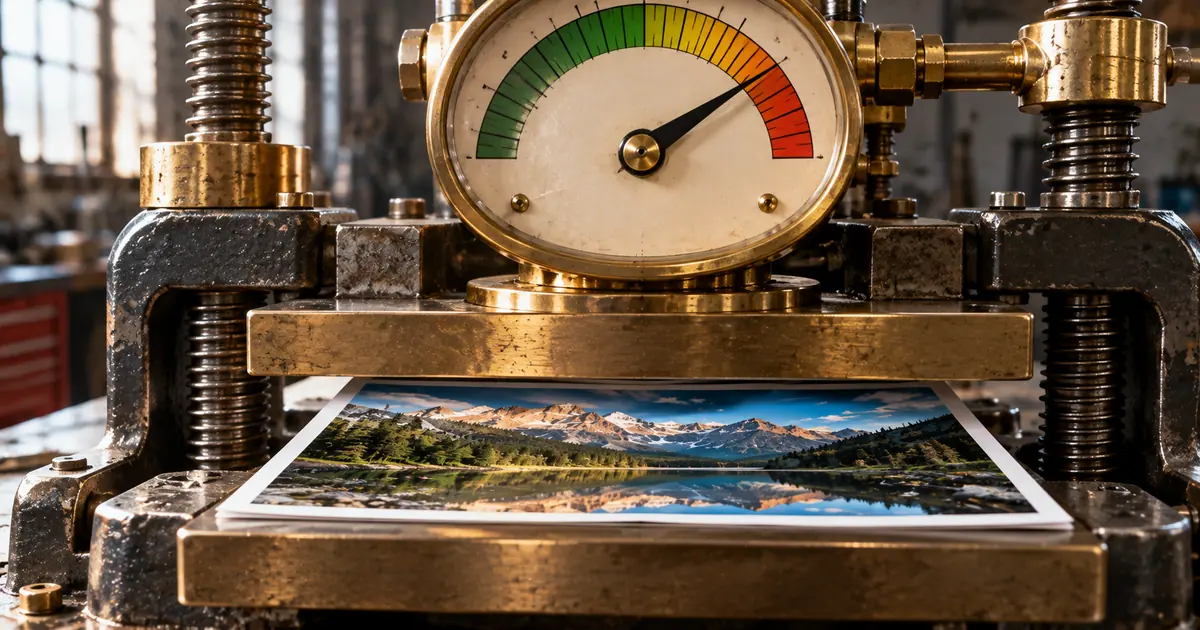
A photo that is over an upload limit does not have to get smaller on screen. Keeping the width and height and saving the file again at a lower JPEG quality removes most of the bytes, and the lost detail is hard to see at normal size.
The numbers come from a photo and a large wallpaper image saved at JPEG quality settings from 95 down to 50, and as WebP, with neither one resized. They show where the savings are large, where they flatten out and which image types gain from WebP.
Lower the quality setting, not the image dimensions
Saving a photo again with stronger compression shrinks the file and leaves its width and height alone, while resizing removes pixels. A file's size depends on how many pixels the picture has and how many bytes those pixels take once they are encoded. When the width and height must stay put, the encoding is the part to change.
Compression comes in two kinds. Lossy compression discards some image data to make the file much smaller, while lossless compression keeps enough to rebuild the original exactly.
JPEG is lossy, and its quality number controls how much it discards, whereas PNG is lossless and has no such number. Photographs usually tolerate lossy compression well, because the detail it removes is harder to see.
Resizing also lowers the file size, because fewer pixels need storing. The price is a smaller picture on screen and in print, and small text inside a photo can become hard to read. A resize is needed only when the site also sets a maximum width and height, and for that job see How to resize an image on Windows, Mac and phones.
A PNG photo is the easiest win. A 512×512 test photo fell from 687.2 KB as a PNG to 67.6 KB as a quality-80 JPEG, which is 9.8% of the PNG's size, at the same dimensions.
Screenshots, logos and images with a transparent background should stay PNG, because lossy compression blurs sharp edges and JPEG cannot store transparency. JPEG vs PNG: which to use, tested on real images compares the two formats in detail.
"Compression can be lossy, discarding image data to get much smaller files, or lossless, reproducing the original exactly." / "Photographs and other continuous-tone images can usually tolerate lossy compression, because the discarded detail is harder to see." / "For screenshots, diagrams, logos, and line art, prefer lossless encoding, as blurring and colored fringes around text and sharp edges are very visible." / "PNG is also the fallback for any image needing transparency, as JPEG has no alpha channel." — from MDNView official source →
JPEG quality 80 made a photo less than half its size at 95
The steepest part of the curve sits near the top, which makes a mid-range setting the sensible starting point for most camera shots. The test used two images that ship with macOS: a 512×512 photo of a dahlia, and the 6016×6016 Sonoma wallpaper, a rendered landscape with smooth gradients.
Each was saved from its lossless source as JPEG at six levels with the sharp image library, and none was resized. The table lists the sizes, plus an error figure for the photo.
| JPEG quality | Photo size | Photo error | Wallpaper size |
|---|---|---|---|
| 95 | 141.2 KB | 2.388 | 4,389.8 KB |
| 90 | 100.0 KB | 3.248 | 1,984.5 KB |
| 80 | 67.6 KB | 4.382 | 657.1 KB |
| 70 | 53.0 KB | 5.128 | 382.4 KB |
| 60 | 43.7 KB | 5.696 | 315.5 KB |
| 50 | 37.5 KB | 6.155 | 293.9 KB |
Error is the average difference per color channel from the original on a scale of 0 to 255, where 0 means identical. At 80 the photo came to 67.6 KB against 141.2 KB at 95, which is under half, and the wallpaper fell to about 15% of its size at 95.
Going from 95 to 80 took 73.6 KB off the photo, while going on from 80 to 50 took off only 30.1 KB more. The wallpaper followed the same curve, dropping from 4,389.8 KB to 657.1 KB and then only to 293.9 KB. The cost of those last kilobytes shows in the error column, where the photo at 50 scored about 1.4 times its error at 80.
A file that is still over the limit at 80 may simply have more pixels than its place on the page needs. In that case a resize is the better next step than a lower setting.
WebP vs JPEG: the saving depends on the image
Smooth gradients compress far better in WebP, while busy photographic detail gains little. MDN recommends WebP or AVIF for raster images on the web, because they generally compress better than JPEG and PNG.
WebP can be lossy like JPEG, and converting to it keeps the width and height. The same two images were saved as WebP at 70 and 80 and set against the JPEGs at the same numbers.
| Image | JPEG quality 80 | WebP quality 80 | JPEG quality 70 | WebP quality 70 |
|---|---|---|---|---|
| Photo | 67.6 KB | 64.8 KB | 53.0 KB | 48.9 KB |
| Wallpaper | 657.1 KB | 196.1 KB | 382.4 KB | 151.2 KB |
The photo came to 64.8 KB as WebP against 67.6 KB as JPEG at 80, about 4% smaller, and the gap was about 8% at 70. The wallpaper came to 196.1 KB against 657.1 KB, which is 70% smaller, with almost the same error (1.304 for WebP, 1.291 for JPEG). A picture with large smooth areas such as sky or gradients is therefore worth trying in WebP, and a busy photo gains little.
A quality number means something different in each format, so equal numbers do not give equal looks. Before switching, check that the site receiving the file accepts WebP, and see What Is the WebP Format? Size, Support, Limits for where it works and where it does not.
"For raster images, prefer WebP or AVIF, which generally provide better compression than PNG, JPEG, and GIF." / "WebP and AVIF support both lossy and lossless compression as a setting you choose when encoding." — from MDNView official source →
Compress images in sakuttoAI without resizing them
A free tool that runs in the browser can keep the original width and height at every level once its size cap is switched off. The sakuttoAI Image Compressor takes JPEG, PNG, WebP, GIF, BMP and HEIC files and works on them in the browser. It has three compression levels, and two of them also cap the image size.
| Level | Quality | Max size | Metadata |
|---|---|---|---|
| Low compression (high quality) | 85 | No limit | Kept |
| Standard (recommended), the default | 70 | 2048 px | Removed |
| High compression (small size) | 45 | 1280 px | Removed |
After picking a level, open the Max size menu and choose No limit. The tool then sets no maximum width or height, so the image keeps its original dimensions whichever level is used.
Left at its default, Standard shrinks any image whose longest side is over 2048 px, and High compression does the same at 1280 px. For dozens of files at once, see Bulk image reducer: compress many photos at once.
The Output format menu offers Original format, WebP and JPEG, and JPEG is the choice that turns a PNG photo into a much smaller file. If the result is not smaller and the original type was kept, the tool returns the original file instead of a bigger one.
The Remove EXIF data option strips location, camera information and other personal metadata from the output. It is on by default at Standard and High, which suits photos posted publicly, and it can be turned off when the camera details need to stay in the file.
Compress an image to 100 KB or 200 KB with File size mode
A fixed upload limit can be met by naming the target and letting the tool find the highest setting that fits. In File size mode the targets are 50 KB, 100 KB, 200 KB, 500 KB, 1 MB, 2 MB, or a custom value in KB. The tool tries up to 6 quality levels and keeps the highest one that fits under the target, which replaces the manual cycle of exporting, checking the size and exporting again.
Max size stays on No limit here too, so the width and height do not change while the tool searches for the fit. Both 100 KB and 200 KB are on the target list, so these two limits need no custom value, and any other limit is typed in as a custom KB value. For a PNG photo, set Output format to JPEG first, since JPEG is the choice that turns a PNG photo into a much smaller file.
Summary: keep the dimensions and lower JPEG quality to 80
The saving lives in the encoding, not in the pixel count. Lowering JPEG quality keeps the width and height, and 80 is the sensible starting point, because a test photo at 80 was under half its size at 95 while going lower saved much less and raised the error. Which setting fits depends on the file, so each case below names the one to use.
- A photo over a size limit: keep the dimensions and save it as JPEG at about 80.
- A PNG photo: save it as JPEG, which cut a test photo to 9.8% of its PNG size.
- A screenshot, logo or transparent image: keep it as PNG.
- A picture with large smooth areas: test WebP on that file, and check that the destination accepts it.
- A hard limit such as 100 KB or 200 KB: use File size mode with Max size on No limit.
FAQ
- Does compressing an image reduce its quality?
- Lossy compression such as JPEG always discards some image data, but on photos the loss is usually hard to see. A test photo saved at JPEG quality 80 came to less than half its quality-95 size. Lossless formats such as PNG keep every pixel and have no quality setting to lower.
- Does compressing an image change its dimensions?
- Not by itself. Compression changes how the pixels are stored, not how many there are, so lowering the quality or changing the format keeps the width and height. Some tools also cap the size, though: in sakuttoAI, the default Standard level limits the longest side to 2048 px, so set Max size to No limit.
- Should I save a screenshot as JPEG to make it smaller?
- Usually not. Lossy compression blurs text and sharp edges, which is easy to see in screenshots, logos and diagrams. Keep those as PNG, and save only photos as JPEG to reduce the file size.
- Is WebP always smaller than JPEG?
- No. At quality 80 in a test, WebP was about 4% smaller than JPEG for a photo and 70% smaller for a wallpaper image with smooth gradients. Try both on your own file before choosing.
- Can I remove location data while compressing a photo?
- Yes. The sakuttoAI Image Compressor has a Remove EXIF data option that strips location and camera information from the output. It is on by default at the Standard and High compression levels.
Related articles
 Convert WebP to JPG or PNG, and JPG or PNG to WebPConvert WebP to JPG or PNG free in your browser, or turn JPG and PNG into WebP. Learn which format to pick and what quality setting to use.
 Compress Images Online, Free: JPEG, PNG, WebPCompress images online free: shrink JPEG, PNG and WebP files in your browser, with no upload, a 10–100% quality slider and ZIP download for batches.
 Image Compressor Limits: 5 Free Tools MeasuredA free image compressor is capped three ways: file size, batch count, and where the file goes. TinyPNG stops at 20 images and 5 MB. What each tool allows.
 What Is the WebP Format? Size, Support, LimitsThe WebP format is 26% smaller than PNG and 25-34% smaller than JPEG at equal SSIM. What a WebP file costs, which browsers decode it, and where limits sit.