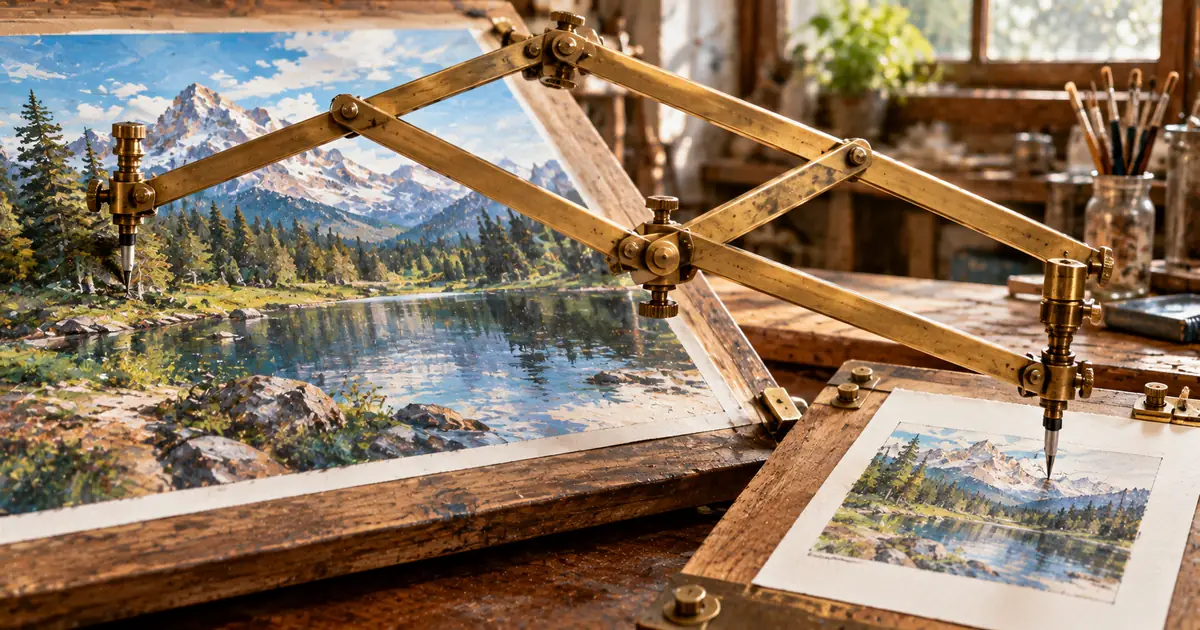
To resize an image, change its width and height in pixels, either by typing a new size or by scaling it by a percentage. A browser tool, Paint on Windows and Preview on a Mac all do this without extra software, and the browser tool also works on a phone. Lock the aspect ratio and type only the width, and the photo keeps its shape.
Resizing, compressing and cropping change different things
A picture has pixel dimensions, a file size and a visible area, and each edit moves only one of them. Resizing sets how many pixels wide and tall the picture is, compressing shrinks the file in KB or MB, and cropping removes part of the picture. Apple's Preview guide treats dimensions and file size as separate jobs for the same reason.
| Operation | What changes | Use it when |
|---|---|---|
| Resize | Width and height in pixels | A site or form asks for a set size or a maximum |
| Compress | File size | The dimensions are fine but the file is too big |
| Crop | What the picture shows | Part of the image isn't needed |
When the width and height are already right and only the file is too big, compressing is the better fix, and Reduce image file size without losing quality explains that route. Cropping is the edit people most often mix up with resizing: it keeps the part you select and drops the rest, while resizing keeps the whole picture.
"You can resize or rotate an image opened in Preview to fit into a particular spot. You can also reduce the file size to save disk space or to download an image more quickly." — from Apple SupportView official source →
"This will remove the unselected portion of the image." — from Microsoft SupportView official source →
Resize an image online by pixels, percent or preset
A browser tab is enough on Windows, a Mac or a phone, because the sakuttoAI tool works on the photo inside the browser instead of uploading it to a server. Nothing is installed on any of the three. A photo that is too big for an upload form or an email attachment is the usual case: drop it in, type a width and download the smaller copy.
- Drop images onto the "Drop image files here" area, or click the area to pick files
- Choose Pixels, Percent or Presets and enter the size
- If you need a different file type, pick Original format, JPEG, PNG or WebP under Output format
- Click Start resize, then download the result
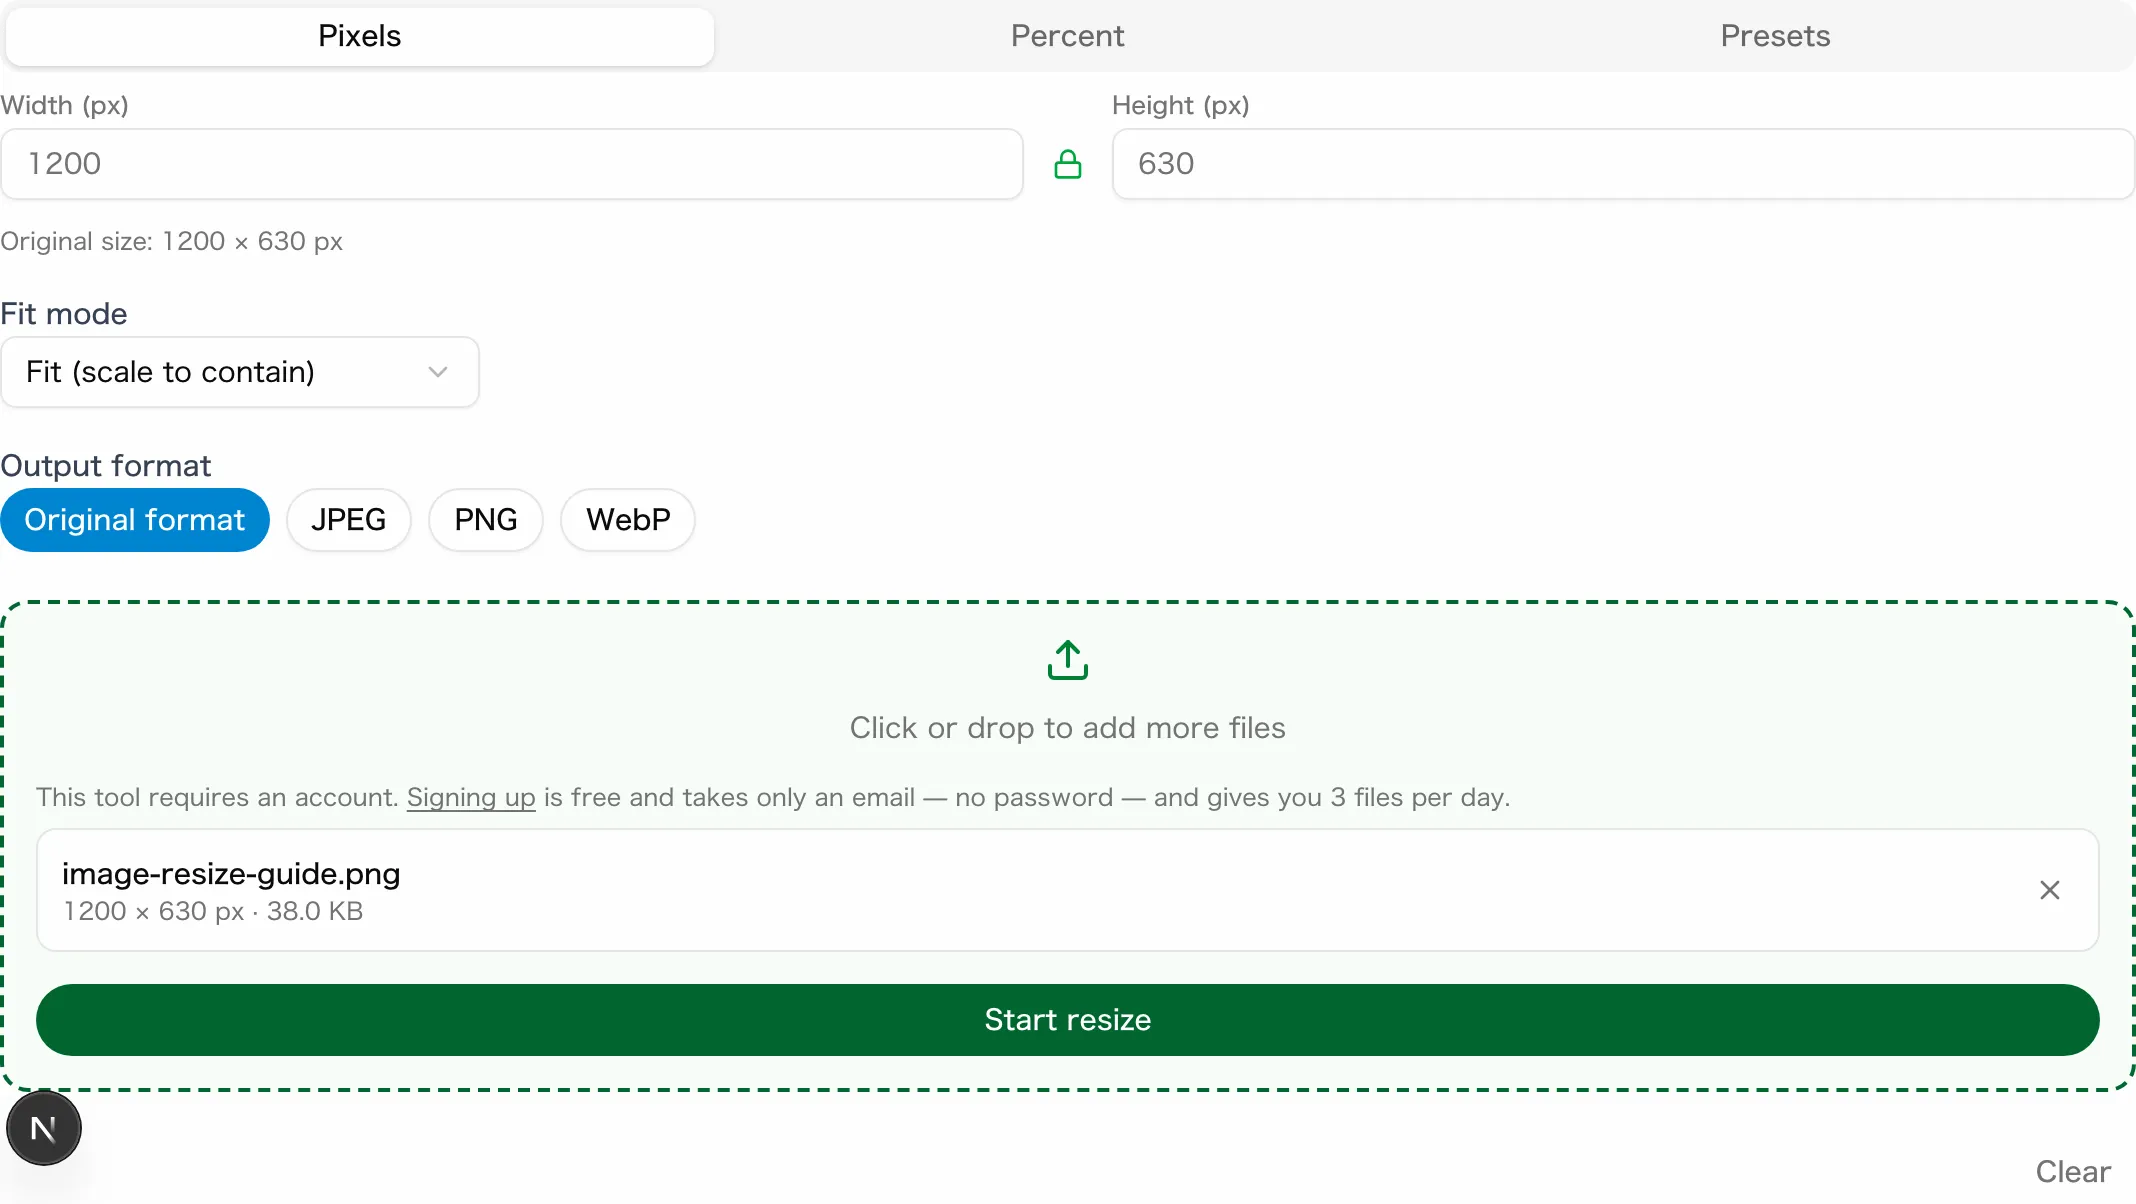
To resize a JPEG and keep it a JPEG, leave Output format on Original format. GIF and BMP files come out as PNG with that setting, so pick the output yourself if the file type matters.
Type only the width, and the height follows the aspect ratio
The Pixels tab starts out protecting the picture's proportions, so a single number is all it needs. The ratio of width to height stays as it is in the original.
Enter a width in pixels and the tool works out the height, so the picture isn't stretched. If you fill in both boxes, the fit mode decides how the image sits in that box.
The Percent tab scales width and height by the same percentage and shows the resulting size in pixels underneath. When the scale goes above the original size, the warning "Enlarging may reduce image quality" appears, so the tab suits shrinking better than enlarging.
Presets and fit modes for social media and ID photo sizes
Each preset bundles a final size for one destination, so the choice depends on where the picture will be posted. Presets come in four groups: SNS (social media), Web, ID Photo and Other. These three show the range.
| Preset | Size in pixels |
|---|---|
| Instagram Post | 1080×1080 |
| OGP Image (the Open Graph link-preview image) | 1200×630 |
| Passport (35×45mm) | 413×531 |
The presets are the tool's own settings, not a platform's rules. For what each platform recommends, Social media image sizes: Instagram, X, YouTube has the details, and Japan visa photo size: 45×35 mm — or 45×45 mm covers Japanese visa photos.
When the original's shape doesn't match the preset, the fit mode decides what happens to the difference. Fit is the default of the four modes.
| Fit mode | Result |
|---|---|
| Fit (scale to contain) | Shrinks the whole image to sit inside the box and saves it at that scaled size |
| Cover (crop overflow) | Scales the image to fill the box and cuts off whatever spills over |
| Stretch | Forces the image to the box's width and height, which changes its proportions |
| Pad (fill with background) | Centers the whole image in the box and fills the gap with a background color, white by default |
Because Fit saves the scaled image rather than the box, one side can come out shorter than the preset. A platform that needs the exact size calls for Cover or Pad, which both save at the size of the box.
Batch resize several images and download them as one ZIP
The same settings run on every dropped file, which saves repeating the steps for each photo. Several images can be dropped at once.
When they finish, a "Download … images as ZIP" button saves them as one file. The number on that button counts only the images that finished. If one image fails, the tool shows "This image could not be resized (the rest kept going)" and carries on with the others.
Resize photos on an iPhone or Android phone the same way
A mobile browser runs the full tool, so no app is needed and the steps match the computer version. On a phone, open the tool in Safari or Chrome and tap the drop area to pick photos. The resized image downloads through the browser.
An iPhone saves new photos as HEIF (.heic) when the camera format is set to High Efficiency and as JPEG when it's set to Most Compatible. A HEIC photo that won't load needs converting to JPEG first, and What is a HEIC file? How it compares with JPG explains the format.
"All new photos and videos will now use JPEG or H.264 format." / "To return to using the space-saving HEIF and HEVC formats, choose High Efficiency." — from Apple SupportView official source →
Paint on Windows 11 resizes by pixels or percent
Microsoft includes the app with the operating system, and the new size goes into a single dialog. The steps and setting names here are the ones Microsoft gives for Paint on Windows 11.
- Click the Start button, type Paint in the search bar and press Enter
- Open the image you want to resize
- On the Home tab, select Resize
- Enter the new size in pixels or as a percentage of the original
- When you save, choose PNG, JPEG, BMP, GIF or another format
Saving under a new name keeps the original file untouched. Paint lets you choose the format at the moment you save, so the same dialog also decides whether the result is a PNG or a JPEG.
A border or background you don't need is a cropping job, not a resizing job. Pick the part to keep with the Select tool, then click Crop on the Home tab, and Paint removes the rest.
"Paint is included in Windows." / "You can then specify the new dimensions for your image in pixels or as a percentage of the original size." / "Paint allows you to choose the format when you save your image." / "This will remove the unselected portion of the image." — from Microsoft SupportView official source →
Preview on a Mac resizes with Adjust Size
Apple builds the resize controls into the app that opens pictures on a Mac, so no extra software is needed. The Adjust Size button sits on the Markup toolbar, and the same command is available from the menu bar.
- Open the image in Preview
- If the Markup toolbar isn't showing, click the Show Markup Toolbar button, then click the Adjust Size button
- Enter a new width and height, or choose a size from the "Fit into" pop-up menu
- To scale by a percentage, choose "percent" from the pop-up menu next to Width and Height, then enter the number
With "Scale proportionally" selected, changing one side changes the other to keep the proportions. A size picked from "Fit into" can leave the width or height smaller than the size you chose, for the same reason.
Several images can be resized together. Show them in one Preview window, select them in the sidebar and use the Adjust Size command once for the whole set.
The "Resample image" box in the same window controls file size. Select it and enter a smaller value in the Resolution field to cut the file, and the new size appears at the bottom. Deselect it before changing the width or height when you want to keep every detail.
"Enter new values for width and height, or click the “Fit into” pop-up menu and choose a size." / "If you change either the width or height, the other value changes to maintain the proportions." / "If you choose a size from the “Fit into” pop-up menu, the image’s width or height may be smaller than the chosen size to maintain the proportions." / "To resize multiple images at the same time, display the images in the same window, select them in that window’s sidebar, then choose Tools > Adjust Size." / "Enter a smaller value in the Resolution field." / "The new size is shown at the bottom." / "Deselect “Resample image” before changing the width or height." — from Apple SupportView official source →
Resize an image without losing quality
Detail survives best when the picture only gets smaller, starts from the largest original and keeps its shape. The sakuttoAI tool itself warns that enlarging may reduce image quality, which is why shrinking is the safer direction. Four habits protect the result:
- Start from the biggest original you have, not from a copy that was already resized
- Keep the aspect ratio locked and type only one side, so the picture is never stretched
- In Preview, deselect "Resample image" before changing the width or height
- Avoid saving the same photo again and again in a lossy format such as JPEG, and resize from the original each time
A photo whose dimensions are already right but whose file is too big belongs to compression rather than resizing. Cropping is the fix when only a border needs to go.
Summary: pick the tool that fits your device
All three routes give the same result, because each one changes only the pixel dimensions while the aspect ratio stays locked. The device in your hands decides which one is quickest:
- A phone: the browser tool, opened in Safari or Chrome
- A Windows PC and a single photo: Paint, with Resize on the Home tab
- A Mac: Preview, with the Adjust Size button
- A whole set of photos: the browser tool, which hands the results back as one ZIP, or the Preview sidebar on a Mac
Whichever route you take, type only the width and keep the ratio locked. Shrinking from the biggest original keeps the most detail.
FAQ
- How do I resize a picture without stretching it?
- Keep the aspect ratio locked and enter only the width or the height. The sakuttoAI image resizer starts with the aspect ratio locked. In Preview on a Mac, with "Scale proportionally" selected, changing one side changes the other to match.
- What is the difference between resizing and cropping an image?
- Resizing keeps the whole picture and changes its width and height in pixels. Cropping keeps the part you select and removes the rest, so what the picture shows changes.
- Can I batch resize images?
- Yes. The sakuttoAI image resizer takes several images at once, applies the same settings and saves them as one ZIP. In Preview on a Mac, show the images in one window, select them in the sidebar and use the Adjust Size command.
- How do I resize an image in Paint?
- Open the image in Paint and select Resize on the Home tab. Enter the new size in pixels or as a percentage of the original, then choose the file format when you save.
- How do I make an image file smaller in Preview on a Mac?
- Open the Adjust Size command, select "Resample image" and enter a smaller value in the Resolution field. Preview shows the new file size at the bottom. If you want the same pixel dimensions with a smaller file, compress the image instead.
Related articles
 Combine images into PDF without uploading themCombine images into PDF with a browser tool that never uploads your files, Windows Print to PDF or Preview on a Mac. Compare the daily limit and page order.
 Social media image sizes: Instagram, X, YouTubeSocial media image sizes from Instagram, X and YouTube help: Instagram posts are 1080 px wide at 1.91:1 to 3:4, YouTube thumbnails 3840 × 2160, X lists none.
 TV size chart: width, height and how far to sitThis TV size chart gives the width, height and area of every 16:9 screen from 24 to 98 inches, in both inches and centimeters, plus 4K viewing distances.
 Claude Fable 5.2: 20% price cut, up to 30% fasterAnthropic released Claude Fable 5.2 on November 9, 2026. API prices fall 20% to $8/$40 per million tokens, and output is up to 30% faster than Fable 5.1.